Clone, run, and explore this sample
This sample demonstrates how to configure a SQL Server container to use a persistent volume in Aspire, so that the data is persisted across app launches. This method can be used to persist data across instances of other container types configured in Aspire apps too, e.g. PostgreSQL, Redis, etc.
The entry point that composes every resource and dependency in this sample's distributed application.
var builder = DistributedApplication.CreateBuilder(args);
var sqlserver = builder.AddSqlServer("sqlserver")    .WithDataVolume()    .WithLifetime(ContainerLifetime.Persistent);
var sqlDatabase = sqlserver.AddDatabase("sqldb");
var blobs = builder.AddAzureStorage("Storage")    // Use the Azurite storage emulator for local development    .RunAsEmulator(emulator => emulator.WithDataVolume())    .AddBlobs("BlobConnection");
var migration = builder.AddProject<Projects.VolumeMount_MigrationService>("migration")    .WithReference(sqlDatabase)    .WaitFor(sqlDatabase);
builder.AddProject<Projects.VolumeMount_BlazorWeb>("blazorweb")    .WithReference(sqlDatabase)    .WaitForCompletion(migration)    .WithReference(blobs)    .WaitFor(blobs);
builder.Build().Run();
The app consists of a single service, VolumeMount.BlazorWeb, that is configured with a SQL Server container instance via the AppHost project. PostgreSQL and Azure Storage data services are also configured in the AppHost and Blazor projects for demonstration and experimentation purposes. This Blazor Web app has been setup to use ASP.NET Core Identity for local user account registration and authentication, including Blazor identity UI. Using a persistent volume means that user accounts created when running locally are persisted across launches of the app.
The app also includes a class library project, VolumeMount.Data, that contains the Entity Framework Core data model and migrations, a worker service project, VolumeMount.MigrationService, that applies any pending database migrations on startup before the web front end starts, and a standard class library project, VolumeMount.ServiceDefaults, that contains the service defaults used by the service projects.
Pre-requisites
Section titled Pre-requisitesRunning the app
Section titled Running the appIf using the Aspire CLI, run
aspire runfrom this directory.If using VS Code, open this directory as a workspace and launch the
VolumeMount.AppHostproject using either the Aspire or C# debuggers.If using Visual Studio, open the solution file
VolumeMount.slnxand launch/debug theVolumeMount.AppHostproject.If using the .NET CLI, run
dotnet runfrom theVolumeMount.AppHostdirectory.Navigate to the URL for the
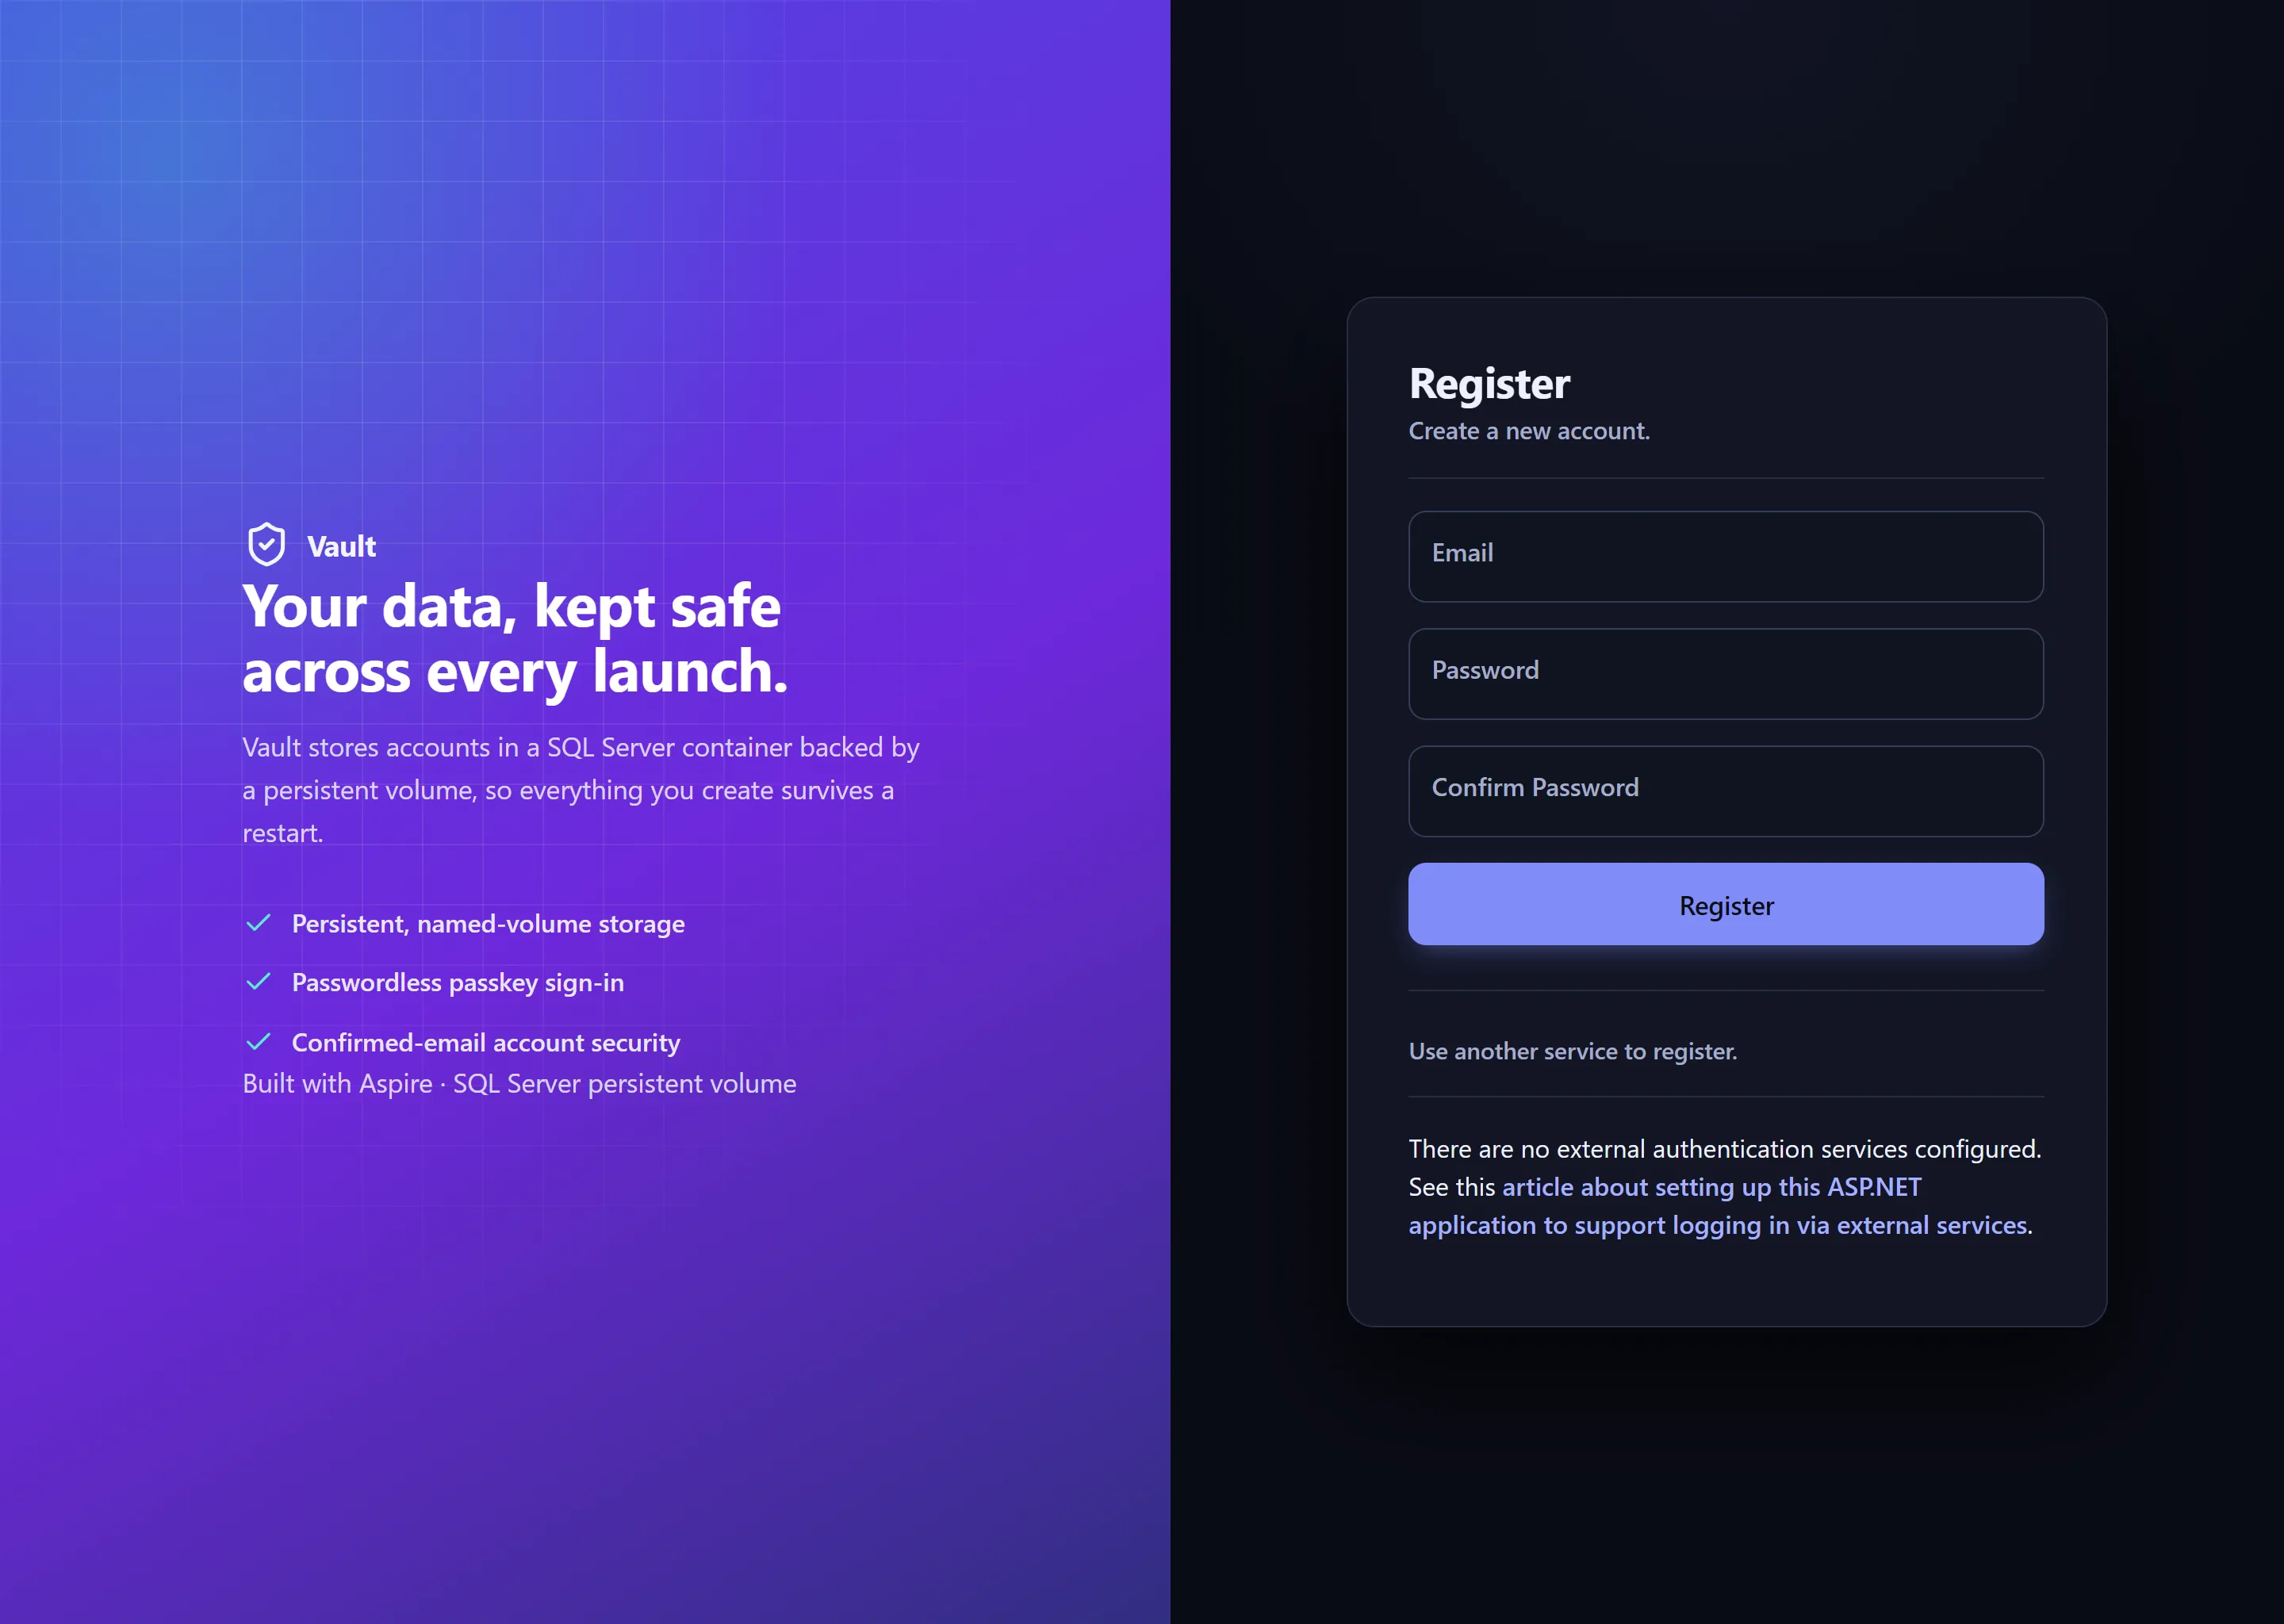
VolumeMount.BlazorWebfrom the dashboard.From the home page, click the "Create your account" button (or "Create account" in the top navigation bar) and enter an email and password to create a local user:
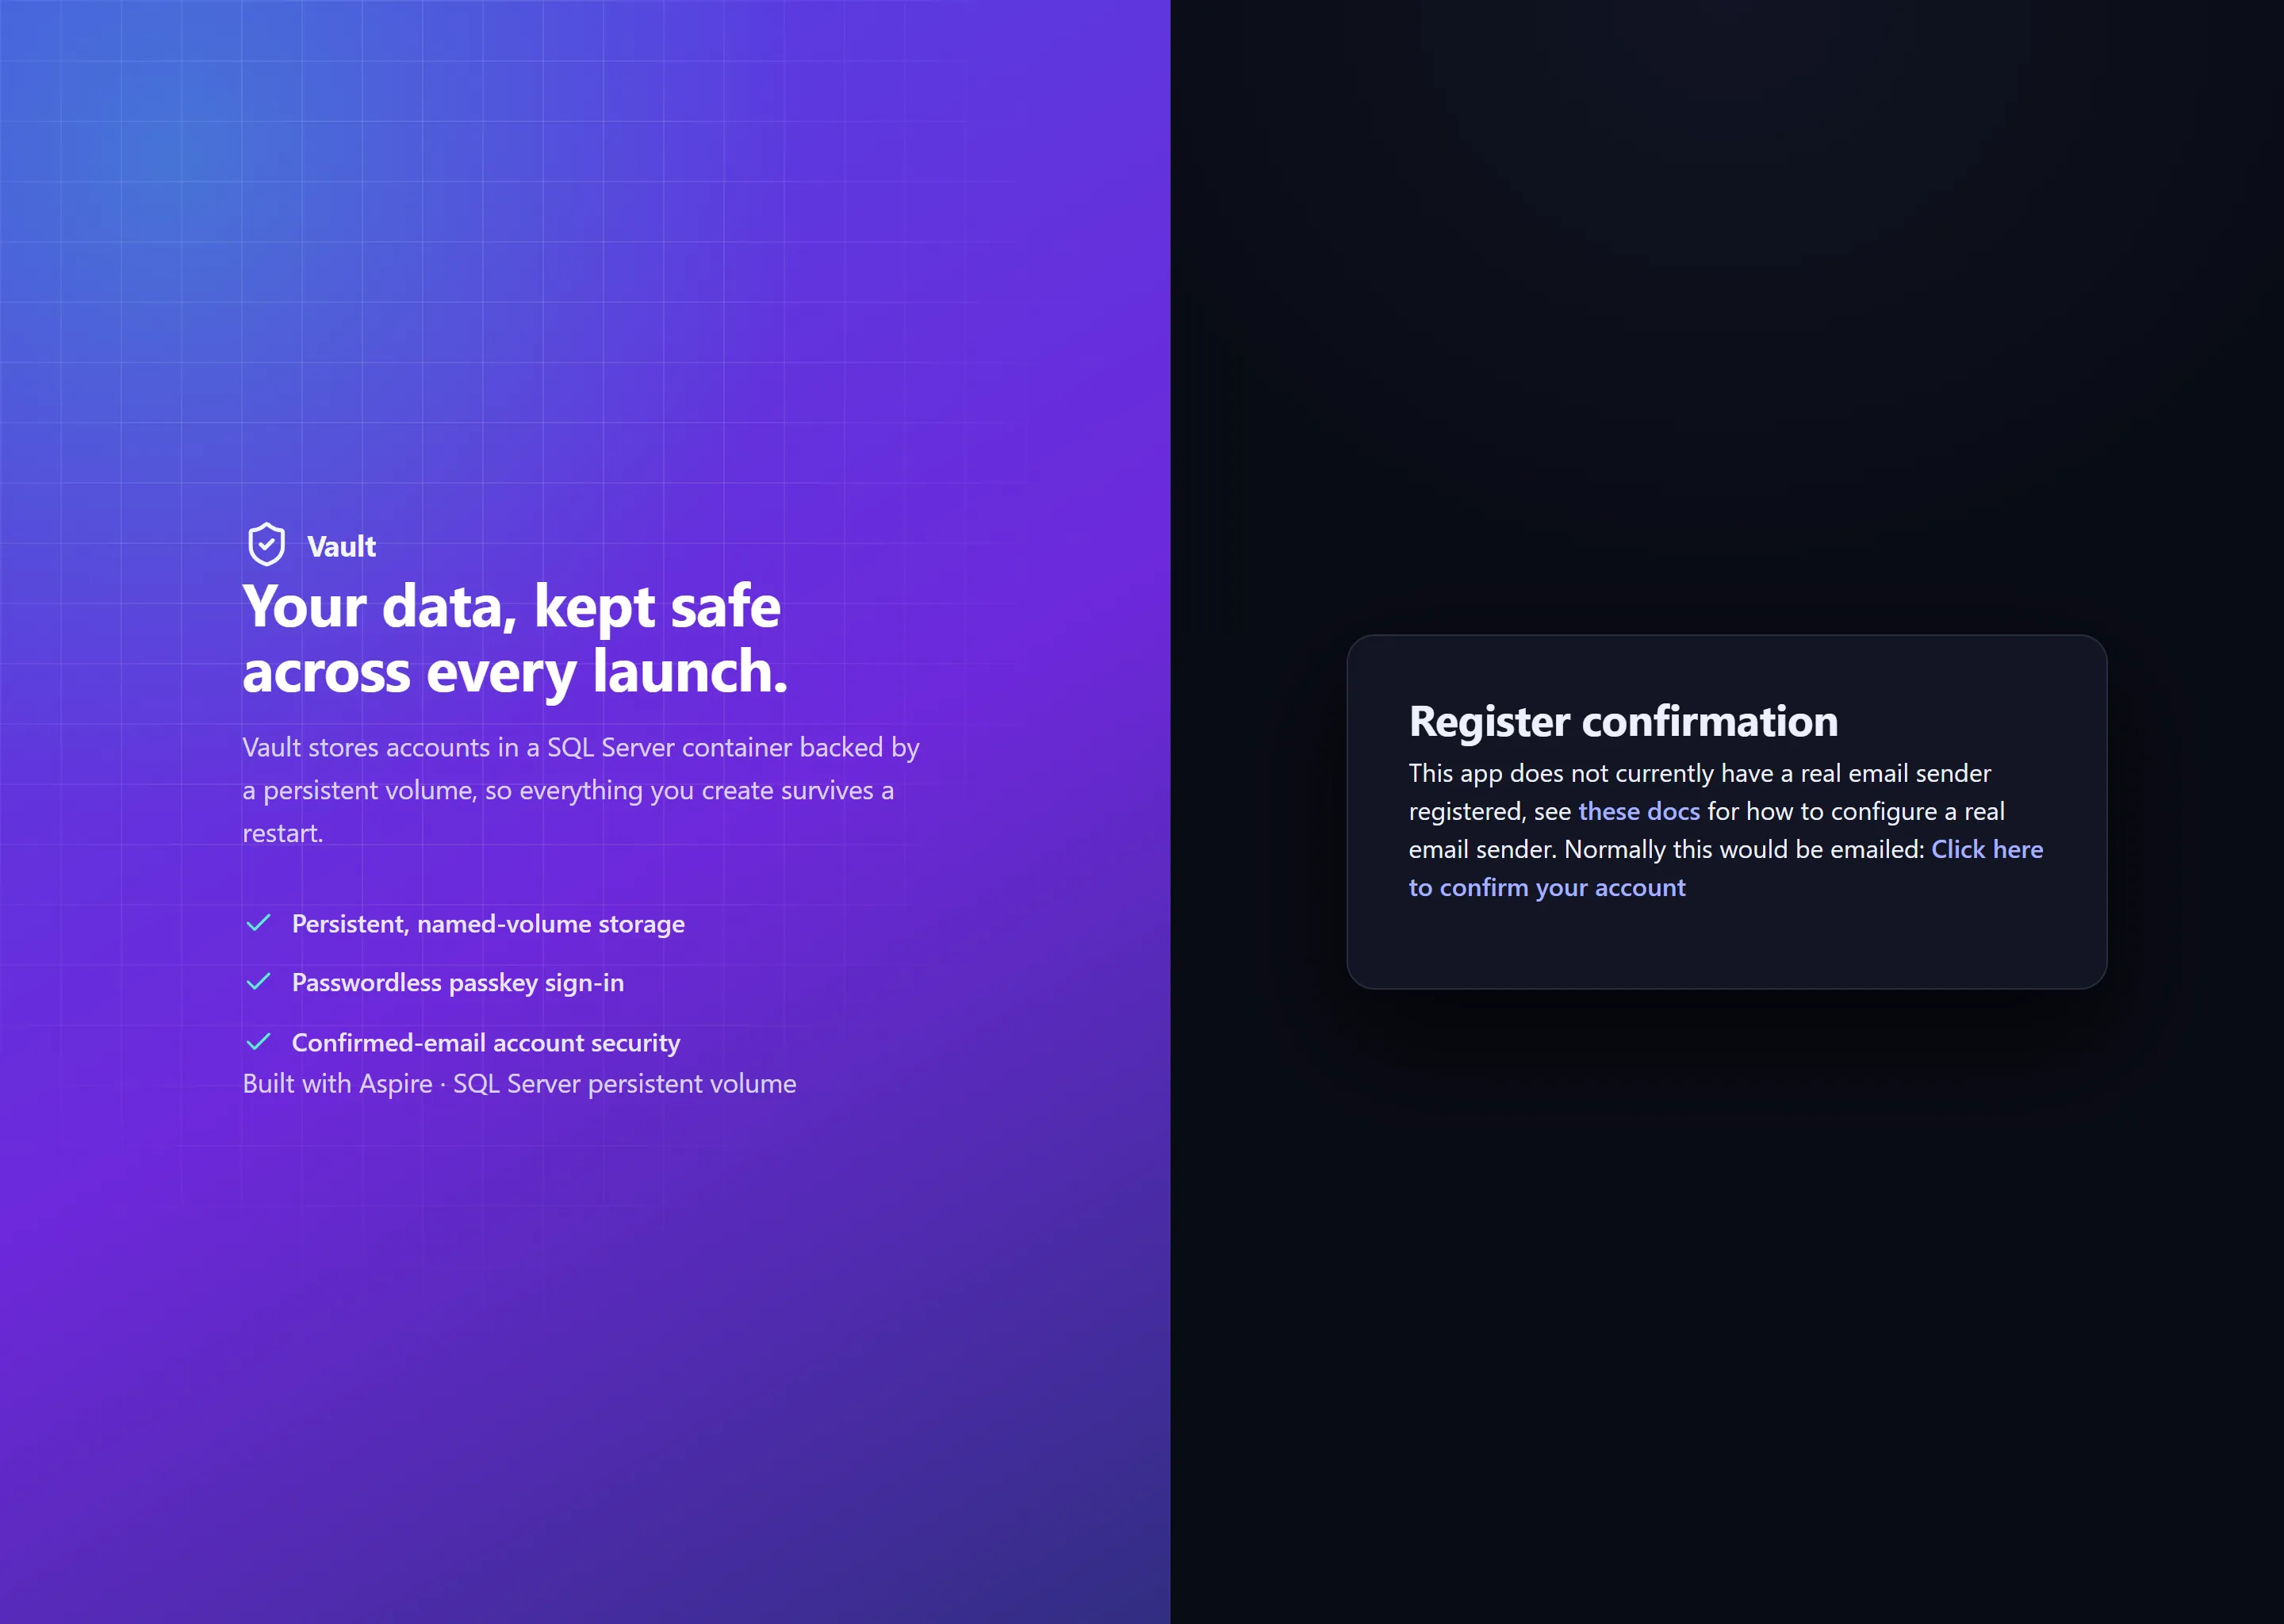
A page will be shown confirming the registration of the account and a message detailing that a real email sender is not registered. Find and click the link at the end of the message to confirm the created account:
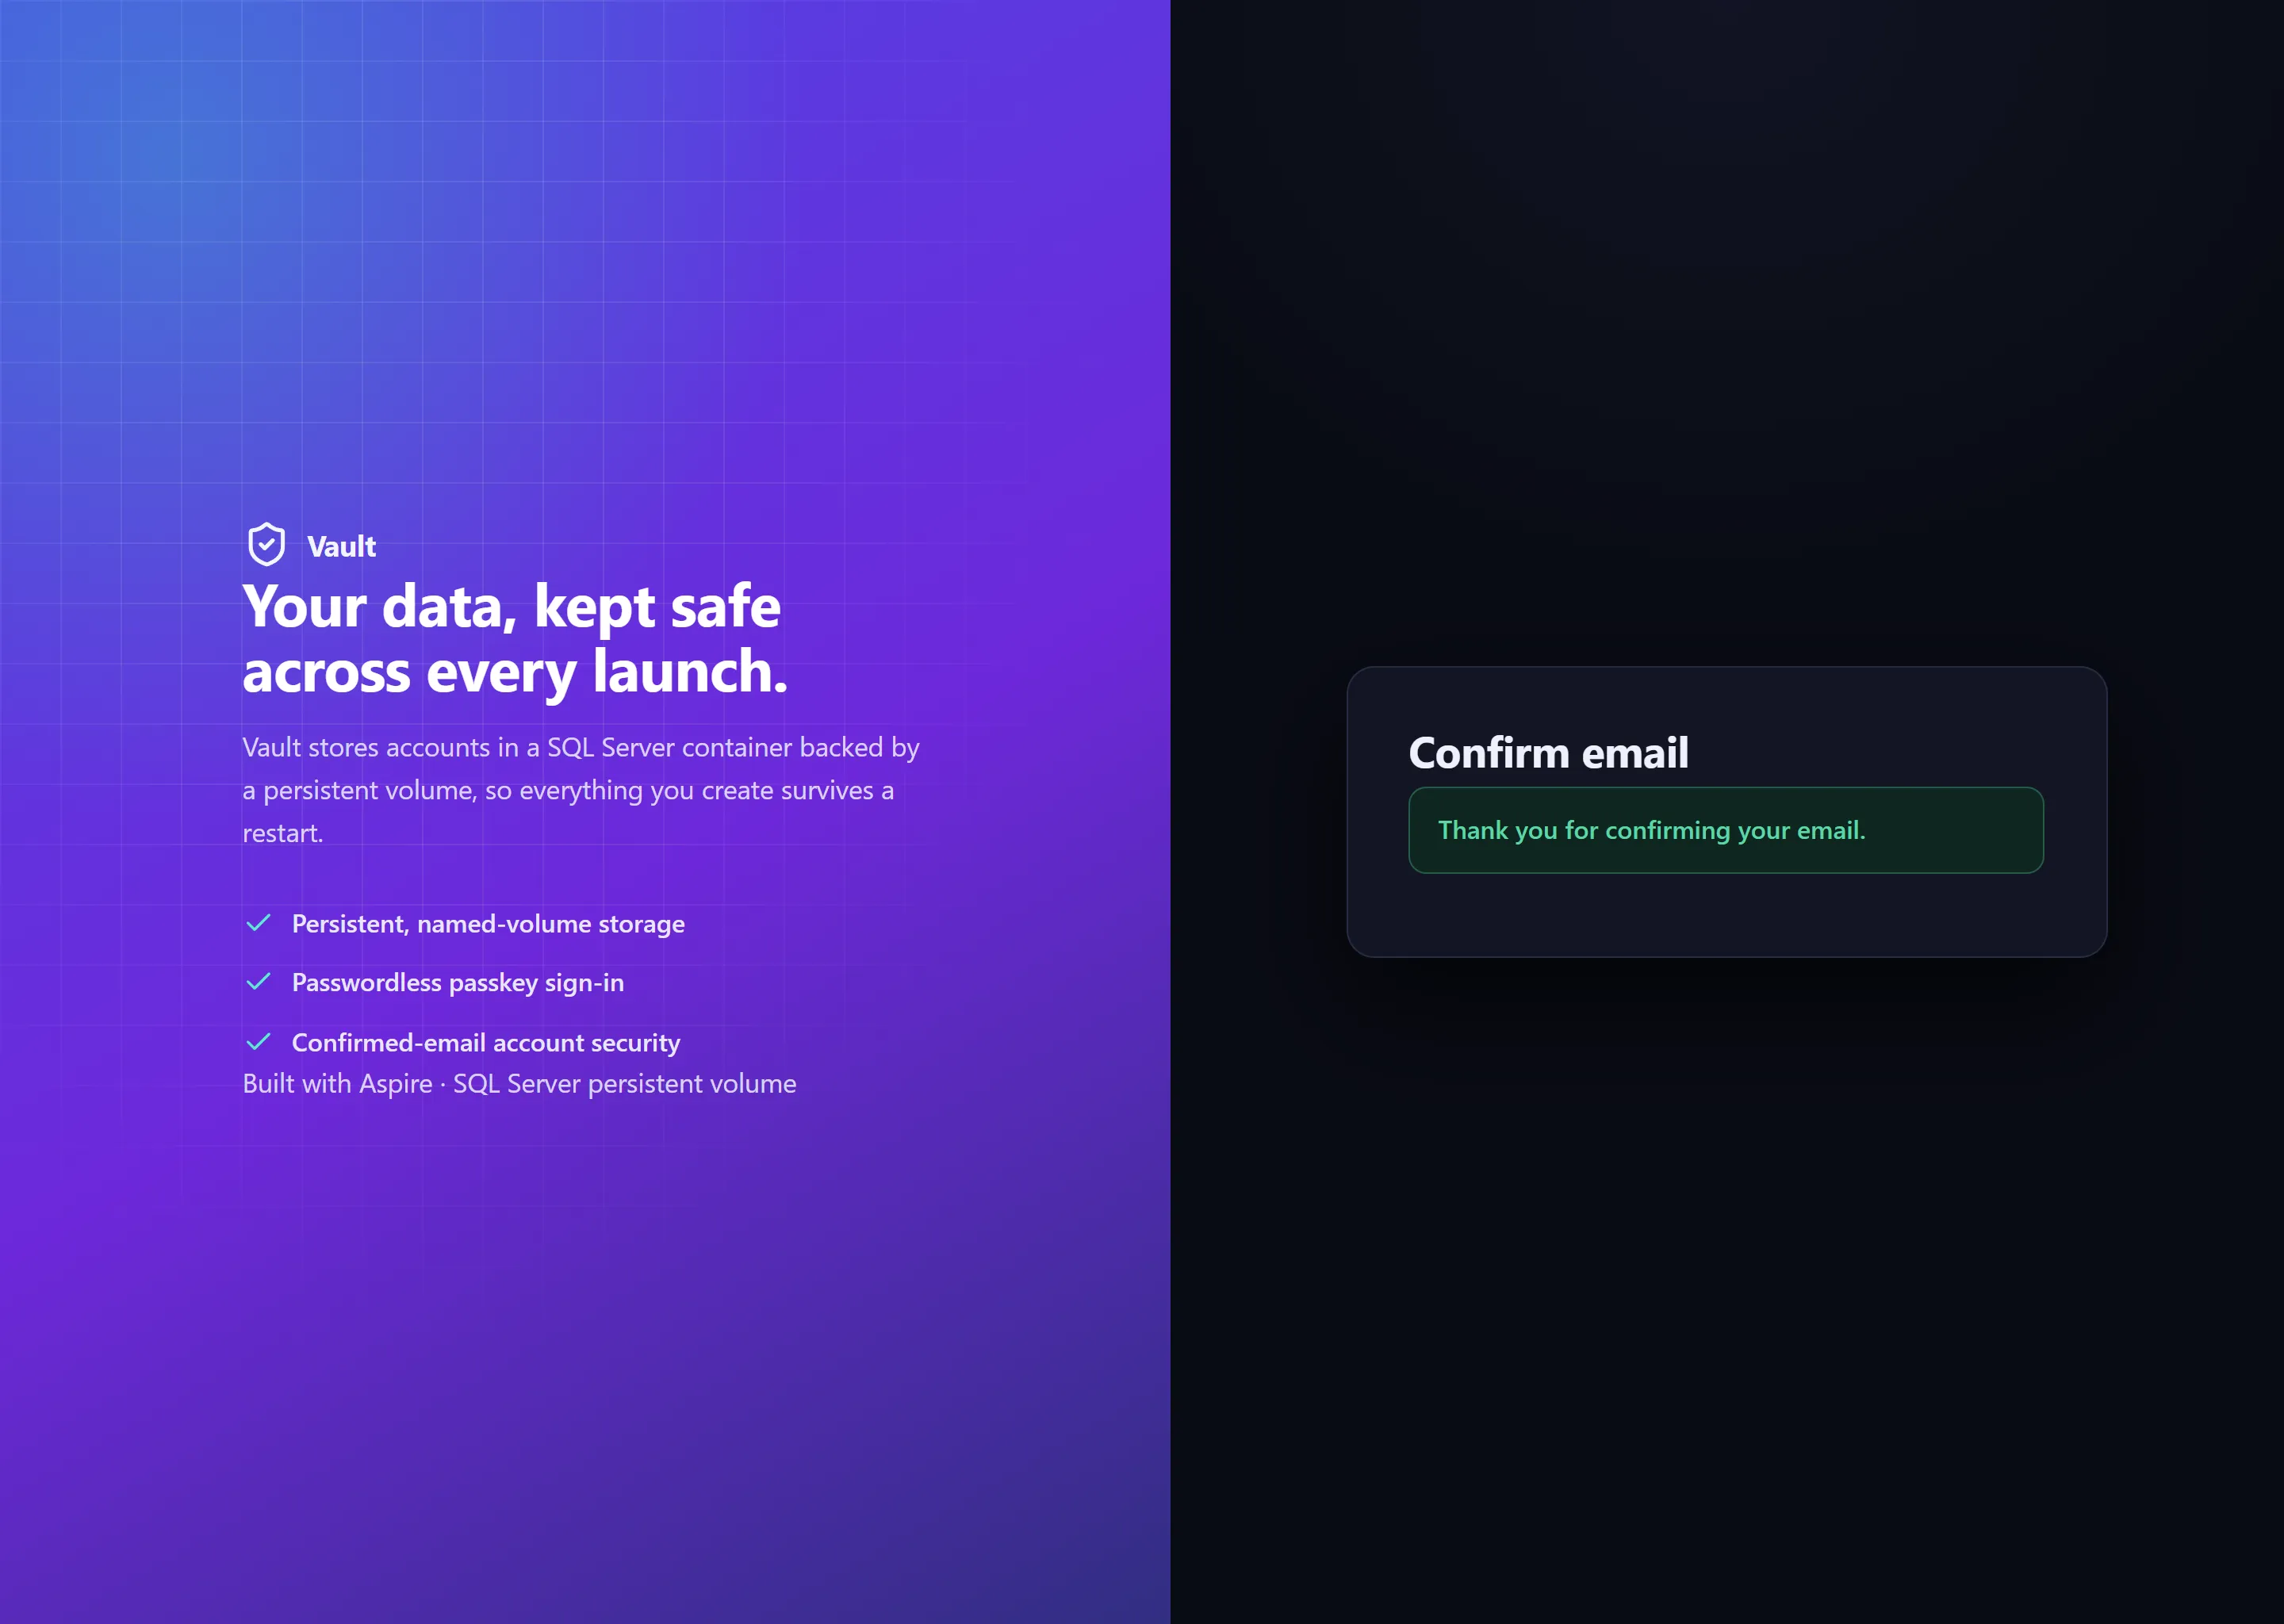
Verify that the email confirmation page is displayed, indicating that the account is now registered and can be used to login to the site, and then click the "Sign in" link in the top navigation bar:
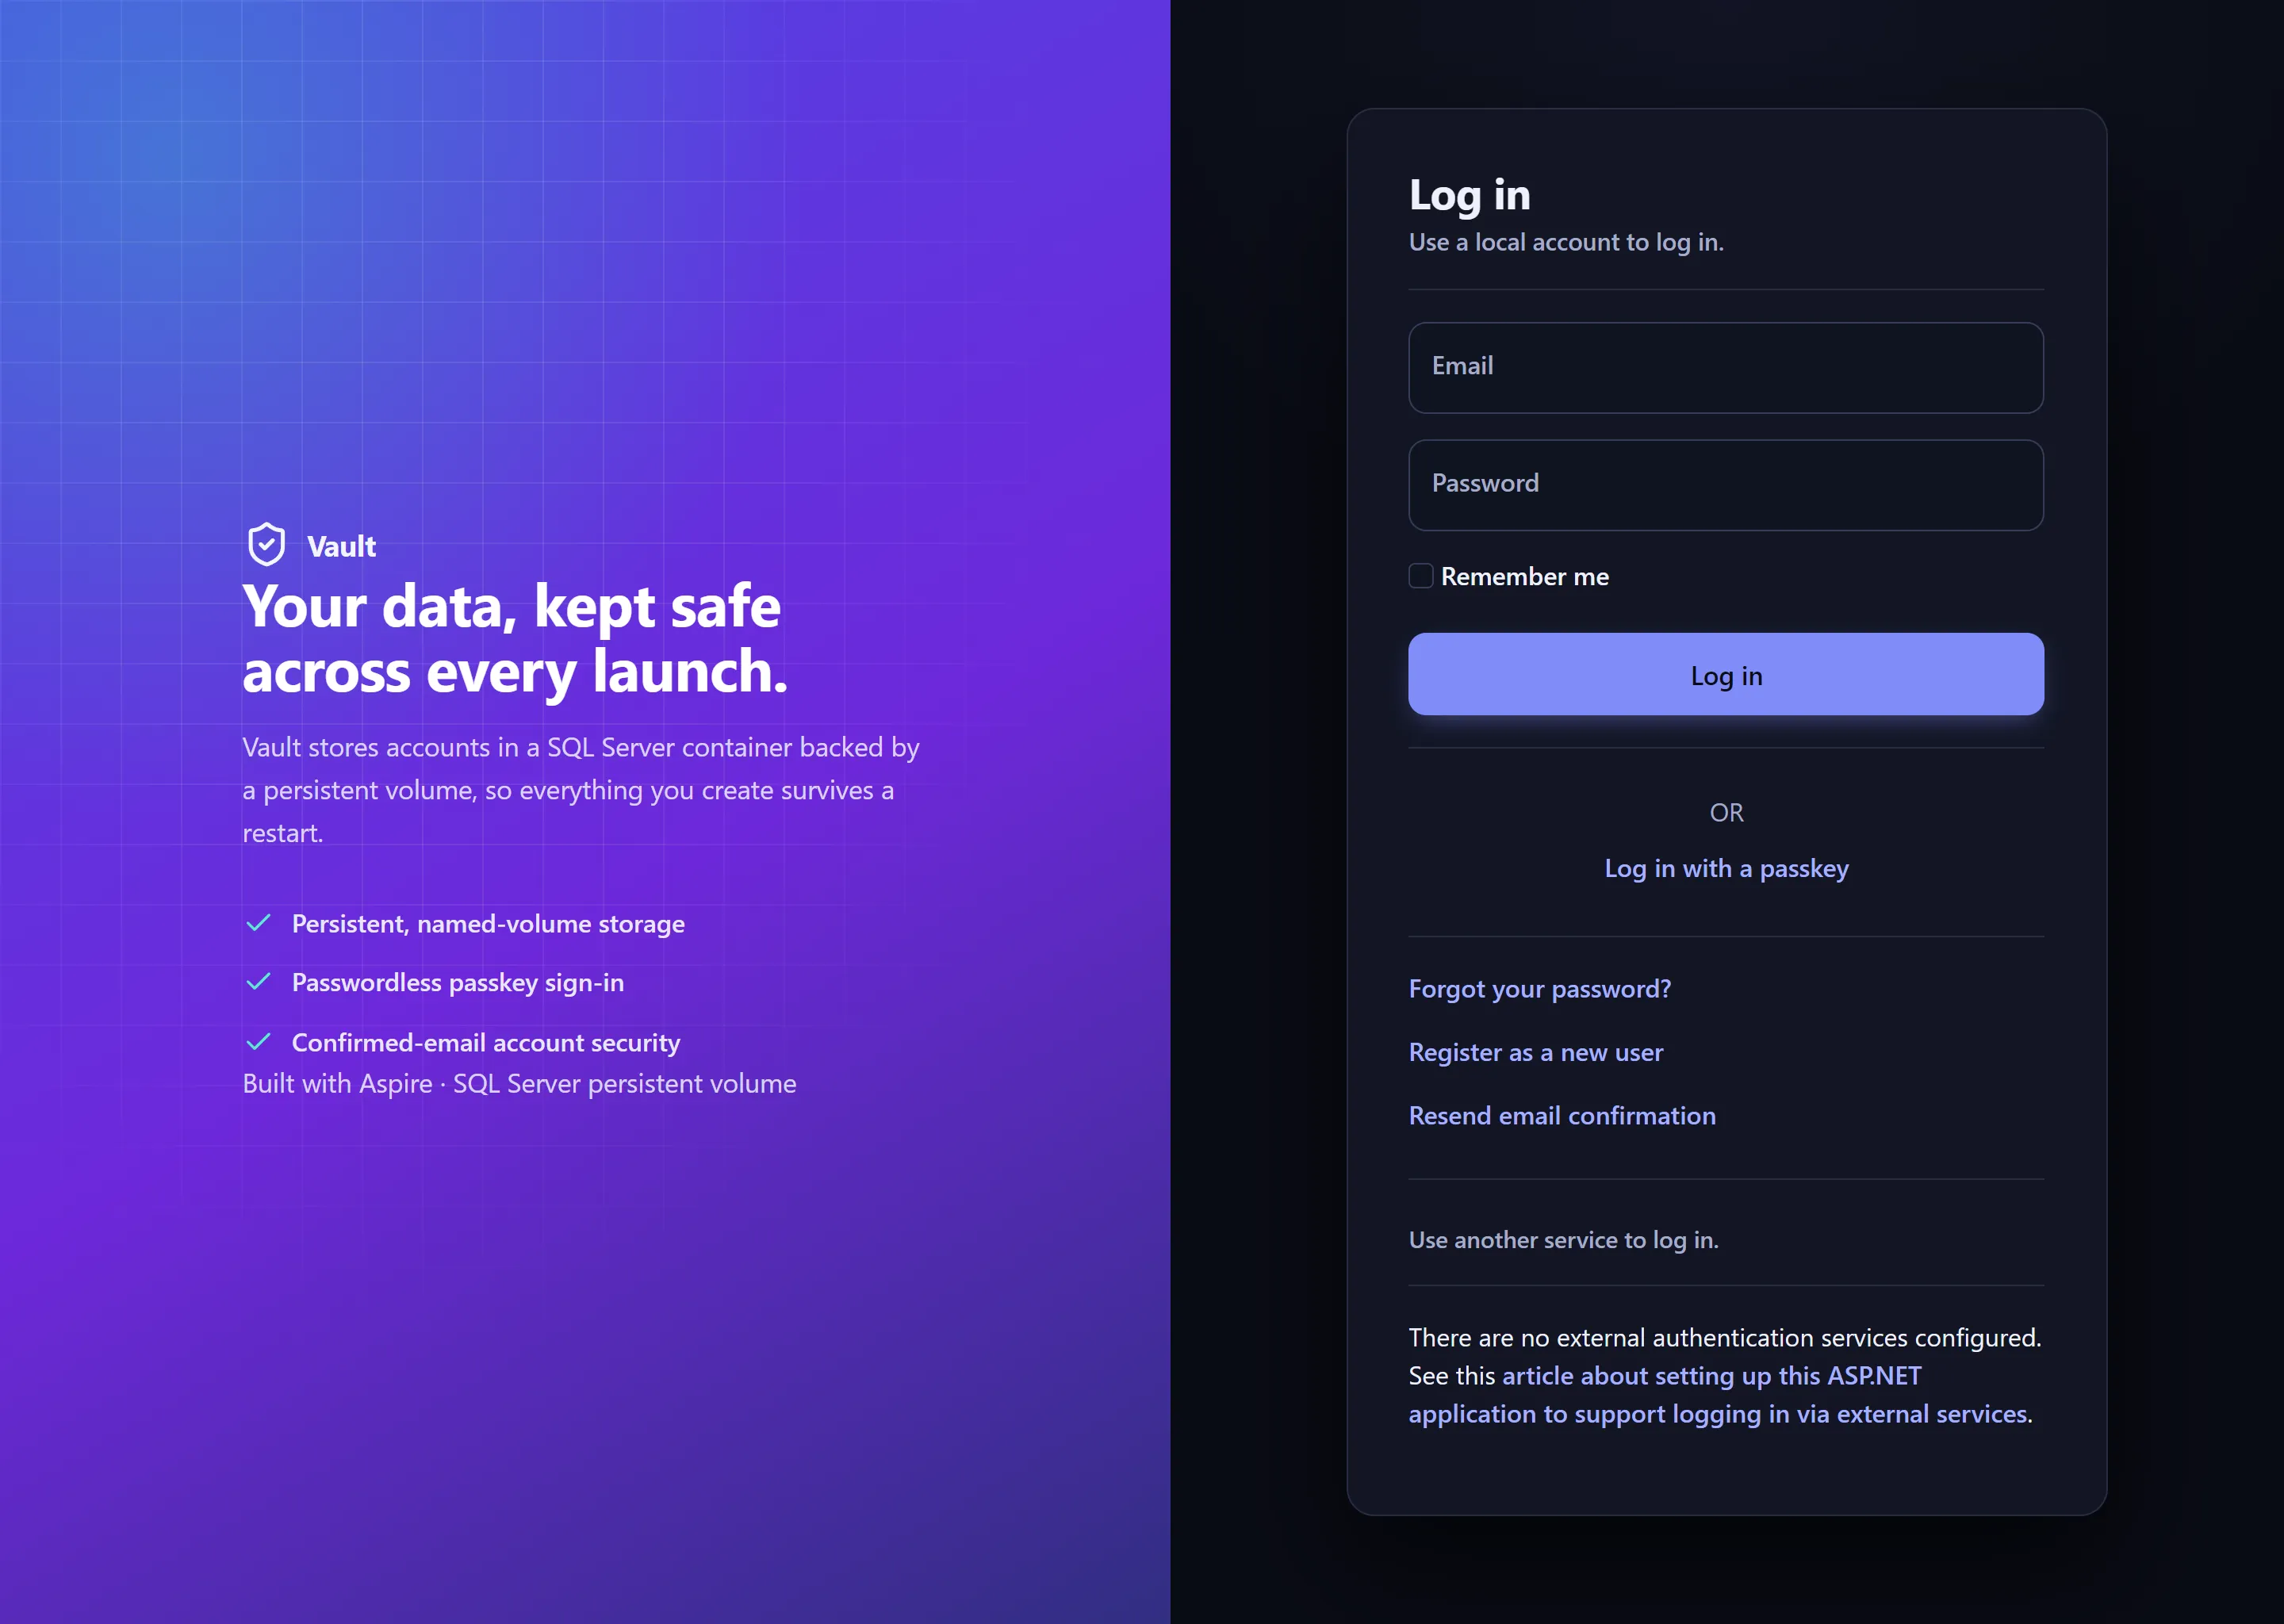
Enter the email and password you used in the account registration page to login:
Once logged in, click the "Sign out" button in the top navigation bar to log out of the site, and then stop the app, followed by starting it again, and verifying that the account you just created can still be used to login to the site once restarted, indicating that the database was using the persistent volume to store the data. You can verify the named volume existance using the Docker CLI too (
docker volume ls):Terminal window > docker volume ls -f name=sqlserverDRIVER VOLUME NAMElocal volumemount.apphost-305a028ab1-sqlserver-data
Sample screenshots
Select an image to zoom in.